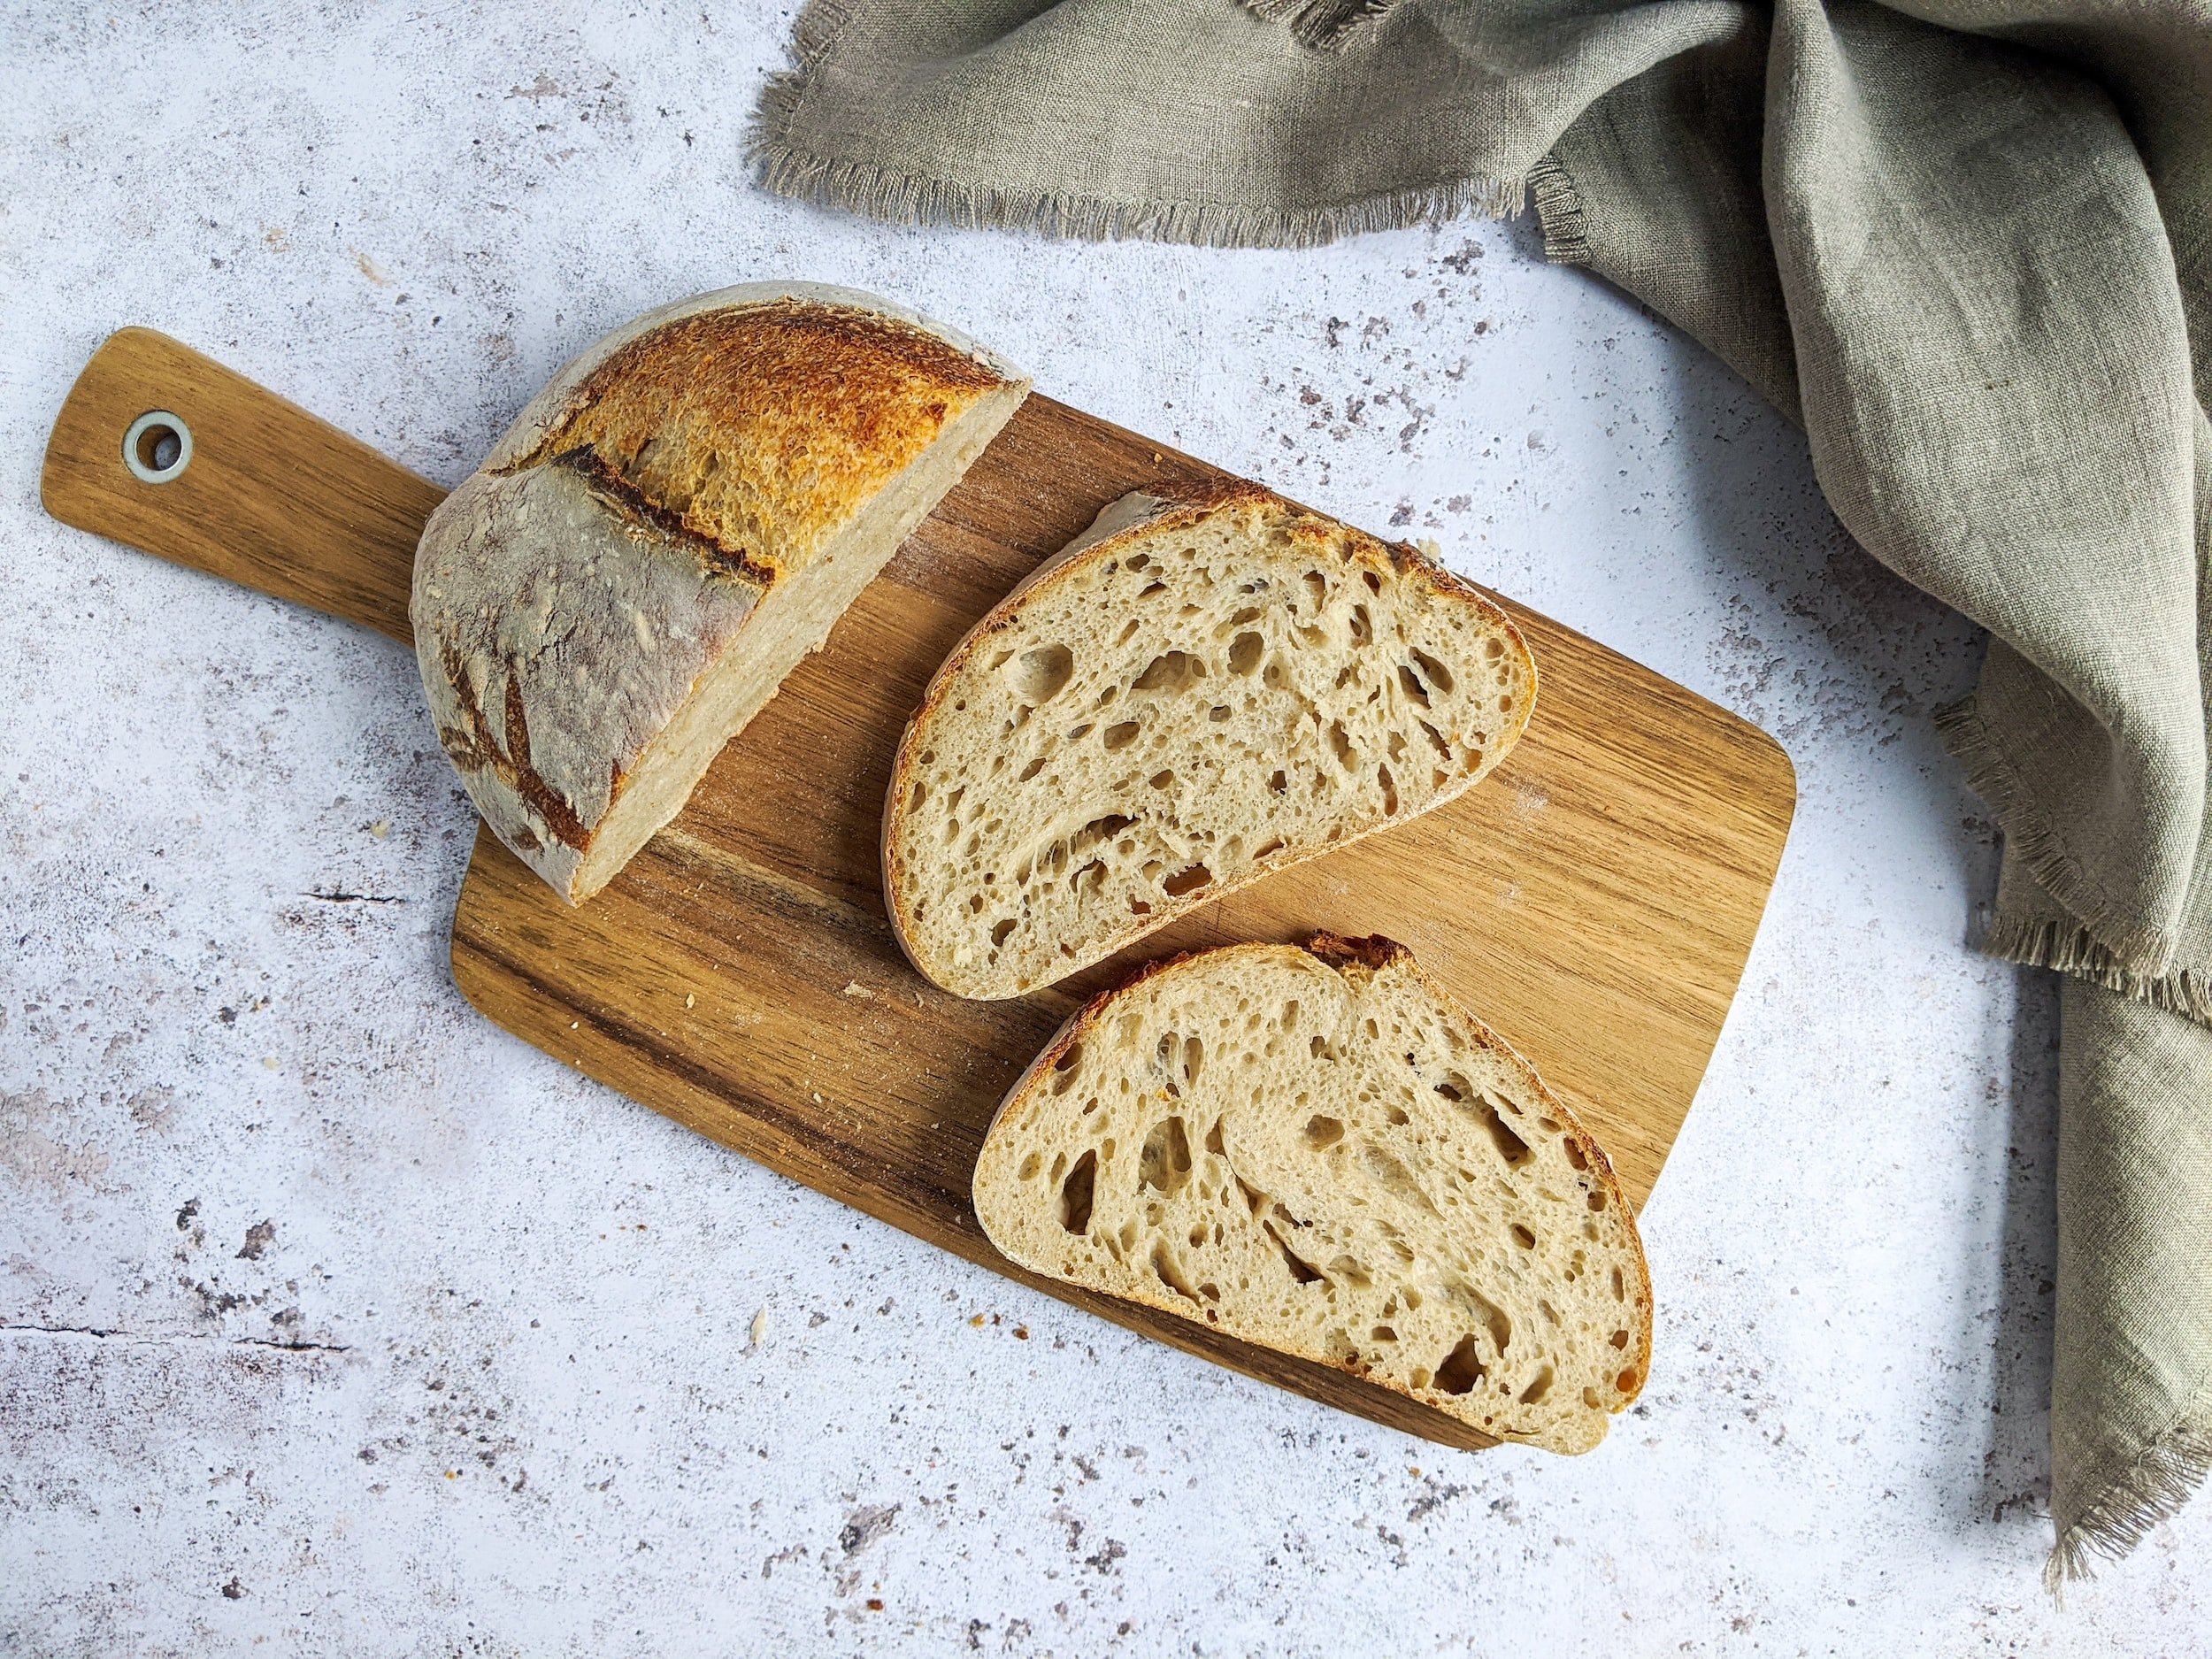
It’s easy when you know how, but when you first start out it feels like a really complicated mix of flour, water and salt.
Making your sourdough starter
It starts with the starter! This is a mix of flour and water, but it’s alive and it needs to be fed and looked after everyday.
You can use any organic, good quality flour, but for a quicker ferment you can use spelt or rye flour. In a glass jar combine a cup of flour with a cup of water and mix it thoroughly together, loosely cover with jar lid or a muslin cloth and elastic band, store it somewhere warm in your house. The following day, you need to feed you sourdough starter, to do this discard half of the contents in the jar and add 1/2 cup of water and 1/2 cup of lukewarm water.
Repeat this feeding process everyday until you see bubbles throughout your mixture, this could take 3-6 days depending on the temperature of your home. When you’re not planning on using your sourdough starter for a little while you can keep it in your fridge and reduce feeding to once per week.
There are lots of recipes that require you to be exact with your ingredients and with your temperatures, but you can still make really nice sourdough bread without being too particular, here’s how:
You need to build up the amount of sourdough starter you have in your jar so that you can use 200g of it without using all of your sourdough starter.
Making your bread
Add 1kg of flour to your bowl, this can be a good quality bread flour, or a mix of white and wholemeal/spelt /rye. (You can get more and more adventurous as you get used to how your sourdough works)
To this add 600ml of lukewarm water and mix with your hands creating a dry-ish ball of dough in your bowl. Poke holes in your ball of dough and add 200g of your sourdough starter along with a good sprinkling of salt, mix through creating a ball again, it may be a little sticky but you should still be able to make a smooth ball. Cover and allow it to sit in a warm area in your home for 3-4 hours. Every half hour stretch the sides of your dough and pull over the top moving around the entire ball of dough.
Once the 3-4 hours is up and your dough is looking a little larger than before with a few bubbles inside, scrape out onto your bench. At this stage you can cut your dough in half if you’d like to make two loaves or you can make one large loaf. I often add dried fruit and mixed spice into one of my loaves at this point so that I have one plain loaf and one fruit loaf. Gently pull your rounds towards you sliding your hands and the dough along the bench, turn your dough and repeat by pulling your dough towards you. Repeat this until you have a nicely shaped dough ball (or 2). Cover your balls with large bowls that fit over your dough, leave these for 15 minutes.
Remove the bowls, flip your dough stretch and pull the sides gently and bring them toward the middle, stretch and pull the top and bottom, bringing both ends towards the middle. flip your dough back over and pull your dough towards you again using your hands to slide the ball along the bench, turning dough and repeating creating a nice tight cob loaf looking dough ball.
These balls are to be flipped upside down and placed in bannetons sprinkled with rice flour (if you don’t have a banneton you can use a bowl lined with a tea towel sprinkled with rice flour). Cover your bowls so that your dough doesn’t dry out, you can either place in the fridge overnight (about 14 hours) or cover and leave out in a warm area for 6 hours or more. You know your dough is ready when it has risen. Preheat your oven to 240 degrees C, preheating your dutch oven as well. Remove your dutch oven (don’t touch the lid) sprinkle the inside with flour place your loaf of bread up the right way in your dutch oven, you can score your bread with a knife here if you like. Pop the lid on your oven and cook for 25 minutes. Remove the lid and cook for a further 20 minutes, turn the oven down to 220 degrees C, until your bread is a nice golden brown. allow your bread to cool slightly before cutting a piece and smothering it in butter!


